The following information applies to these components

Within a block page layout, you can have multiple columns per row.
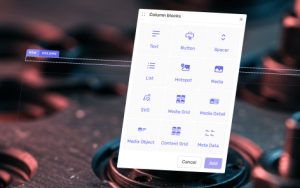
Insert Columns
To insert a column:
- At the end or beginning of a row, click the plus icon to add a column.
- You can click on the plus icon either side of a column to add an additional column.
Delete Columns
To delete a column, hover over the column and click the delete icon.
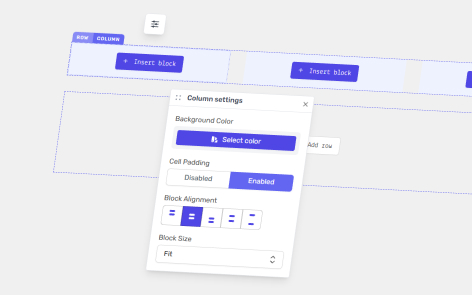
Column Settings
Click on the column label, then click on the edit settings button.

Within the column settings:
- Background Image — Choose an image or SVG file that will sit behind the block’s content.
- Background Color — Set a background color for that specific column.
- Background Position — If you have a background image set, this will define its orientation within the block
- Column Padding — Set the column padding to none, or inherit the value from the page settings, or set a unique custom value for that column.
- Block Alignment:
- Top align — all content will be aligned to the top of the column.
- Middle aligned — all content will be aligned to the middle of the column.
- Bottom aligned — all content will be aligned to the bottom of the column.
- Space around — all content will be distributed evenly within the column with space at the top and bottom.
- Space evenly — all content will be distributed evenly within the column with no space at the top and bottom.
- Block Size — either fit to size or fill the content within the block.
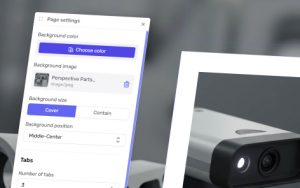
Layout Settings
You can determine how columns are displayed in a row for desktop, tablet and mobile devices.

Managing Content within a Column
View the block page blocks guide to add, reorganize and delete blocks within a column.